Deploying a Vue.js Application on Azure vs Nimbuz

Modern web applications need reliable platforms to host and deliver them to users. Once a Vue.js application is developed, the next step is deploying it so that it becomes accessible over the internet.
There are many cloud platforms that can host Vue.js applications. Two common approaches include deploying on a virtual machine using Azure, or using an automated platform such as Nimbuz.
This article explains how both platforms work and highlights the differences in deployment process, setup effort, and developer experience.
Deploy a Vue.js Application on Azure Virtual Machine
Microsoft Azure allows developers to deploy applications using virtual machines. A virtual machine works like a remote server where you control the operating system, software installation, and application configuration.
In this guide, we will walk through the step by step process to deploy a Vue.js application on an Azure VM using NGINX.
Step 1: Create an Azure Virtual Machine
- Log in to the Microsoft Azure Portal.
- Click Create a Resource.
- Select Virtual Machine.
- Choose the following configuration:
- Operating System: Ubuntu Server
- VM Size: Basic or Standard
- Authentication Type: SSH Key or Password
- Allow the following Inbound Ports:
- 22 (SSH)
- 80 (HTTP)
- Click Review + Create and then Create.
Once created, Azure will provide a Public IP Address.
Step 2: Connect to the Virtual Machine
Use SSH to connect to your server.
ssh azureuser@your-public-ipExample:
ssh azureuser@20.123.45.67Step 3: Update the Server
After connecting, update the server packages.
sudo apt update
sudo apt upgrade -y
Step 4: Install Node.js and NPM
Install Node.js to build your Vue application.
Example:
sudo apt install nodejs npm -yCheck installation:
node -v
npm -v
Step 5: Install Vue CLI (Optional)
If you need the Vue CLI for building projects:
npm install -g @vue/cliStep 6: Upload Your Vue.js Project
Upload your project to the VM using Git or SCP.
Example using Git:
git clone https://github.com/your-repository/vue-project.git
cd vue-project
This will create a build folder.
Step 7: Install Project Dependencies
Inside the project folder run:
npm installStep 8: Build the Vue Application
Build the production version.
npm run buildThis creates a dist folder containing the production files.
Step 9: Install NGINX
Install NGINX to serve the Vue application.
sudo apt install nginx -yStart the service:
sudo systemctl start nginx
sudo systemctl enable nginx
Step 10: Configure NGINX
Create a new configuration file.
sudo nano /etc/nginx/sites-available/vue-appAdd the following configuration:
server {
    listen 80;
    server_name your_domain_or_ip;

    root /home/azureuser/vue-project/dist;
    index index.html;

    location / {
        try_files $uri $uri/ /index.html;
    }
}
Step 11: Enable the Configuration
sudo ln -s /etc/nginx/sites-available/vue-app /etc/nginx/sites-enabled/Test configuration:
sudo nginx -tRestart NGINX:
sudo systemctl restart nginxStep 12: Access Your Application
Open your browser and enter your VM Public IP.
Example:
http://your-public-ipYour Vue.js application should now be live.
Deploy a Vue.js Application on Nimbuz Platform
Nimbuz is a deployment platform designed to simplify application hosting. Instead of managing servers manually, developers can deploy applications directly from a web interface.
Nimbuz handles infrastructure setup, build processes, and networking automatically.
Sign up or log in to the Nimbuz platform
Here’s a simple, step by step guide to get your app running on Nimbuz:
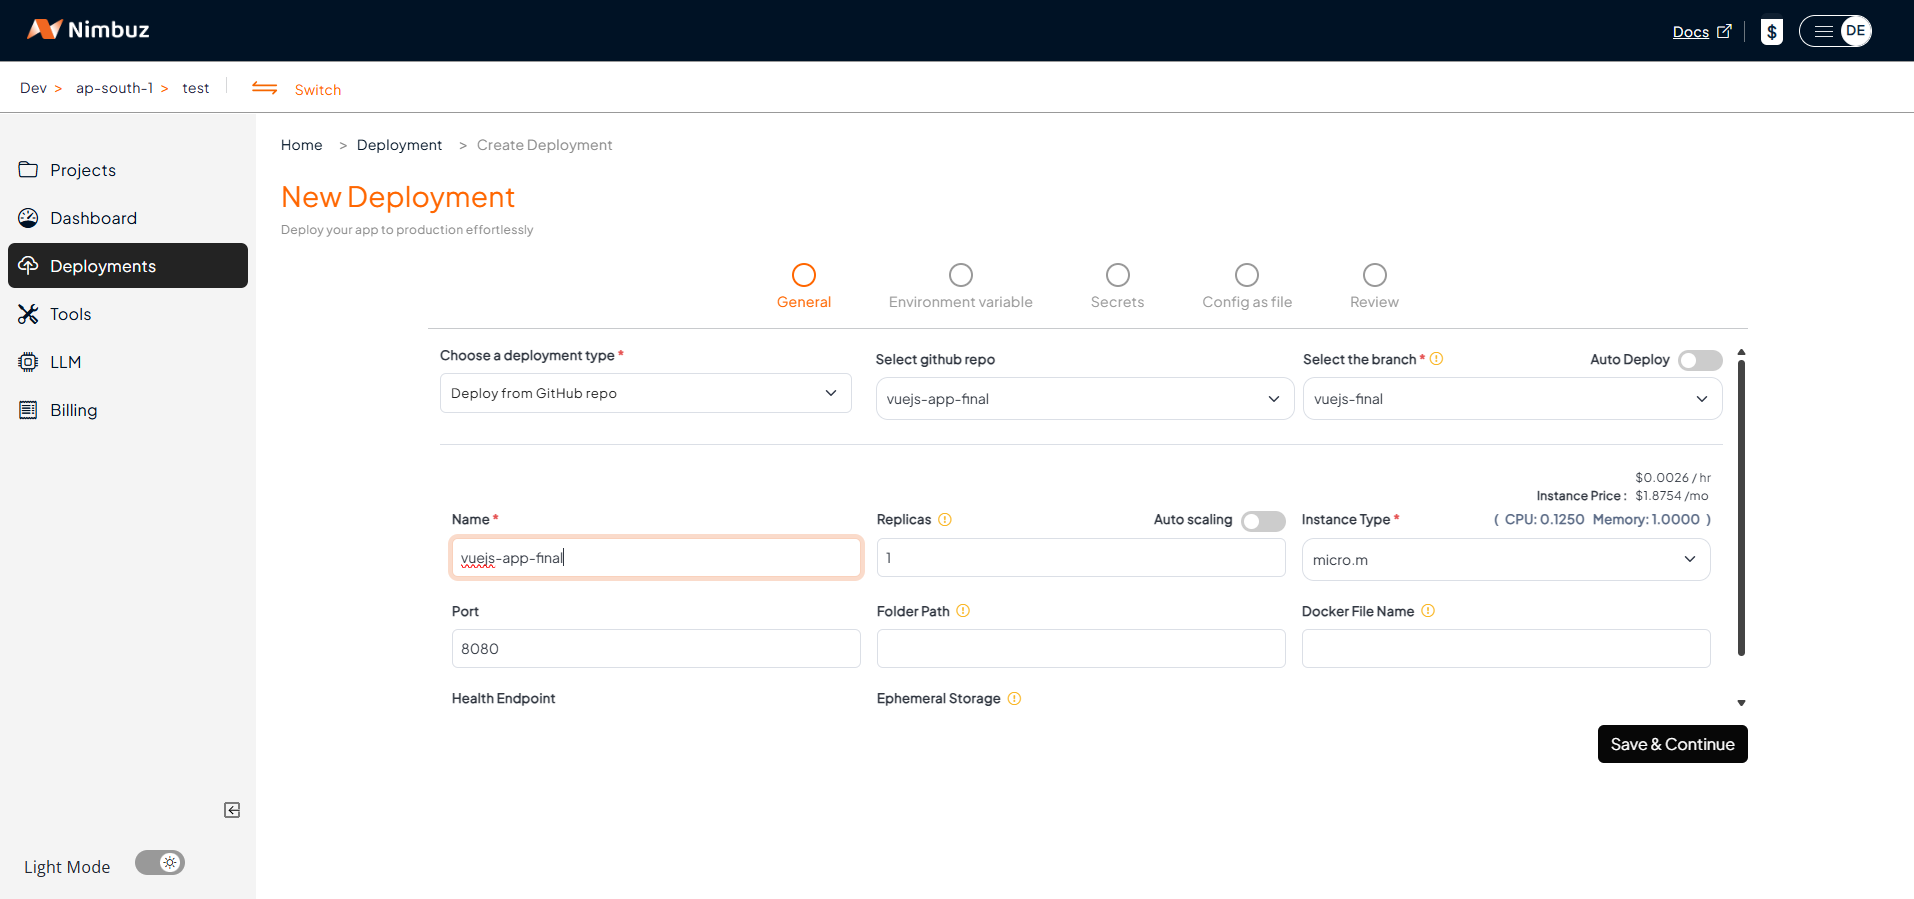
Step 1: Go to Deployments
- Log in or sign up on Nimbuz platform .
- Navigate to the Deployments section.
- Choose your deployment type:
- Connect Your Code Repository: GitHub or GitLab → Connect account → Pick repo and branch. [OR]
- Upload Zip/Tar File: Just upload your code.
- Configure the app port and instance type.
- Let Nimbuz handle the deployment automatically.
Configure Environment Variables, Secrets, and Code as Config
If your Vue.js application depends on configuration values such as:
- API base URLs
- Third party service keys
- Runtime configuration settings
You can securely configure them directly from the deployment configuration page before deployment.
Nimbuz supports:
- Environment Variables : Used for application configuration values.
- Secrets : Used for sensitive information such as password.
- Code as Config : Deployment settings are defined in a configuration file. When you deploy, the platform reads this file and automatically configures the application.
This approach keeps sensitive data secure and prevents it from being hardcoded into your source code.
Step 2: Review & Deploy
- Review the deployment details.
- Click Submit to deploy your application and make it live instantly.
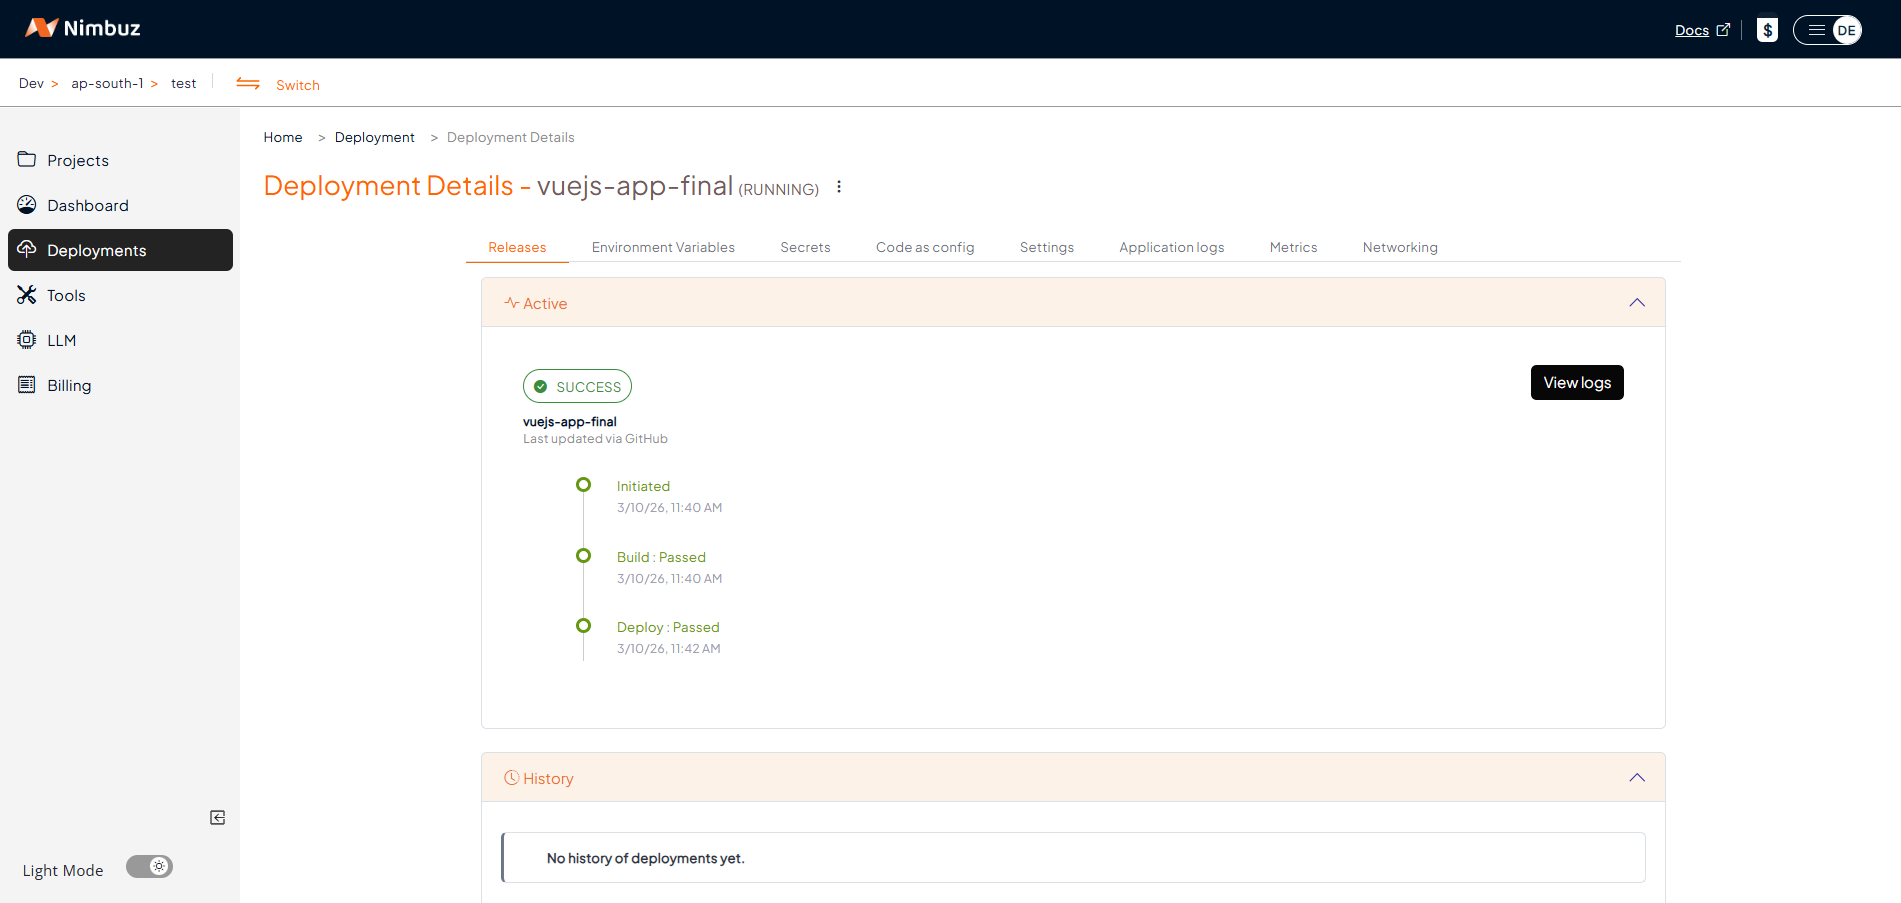
Step 3: Monitor Your App
- View logs, status and recent releases directly in the UI.
- No SSH or terminal required.
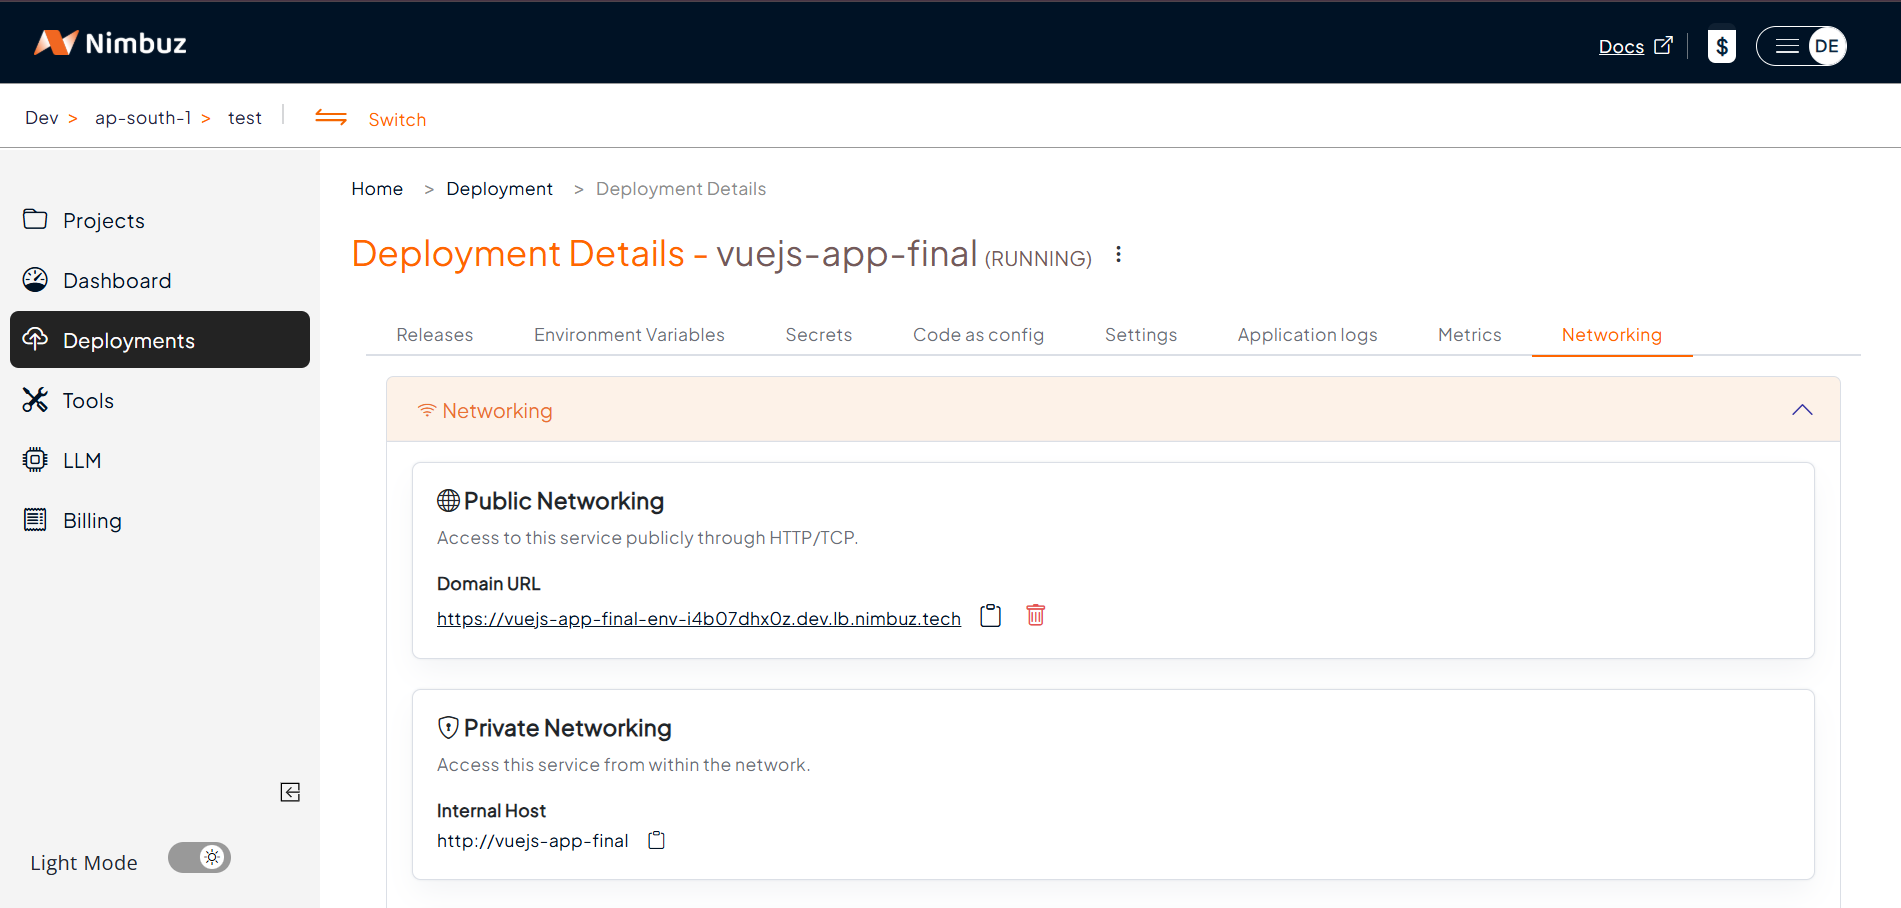
Step 4: Access Your App
- Go to the Networking tab → Click Generate Domain.
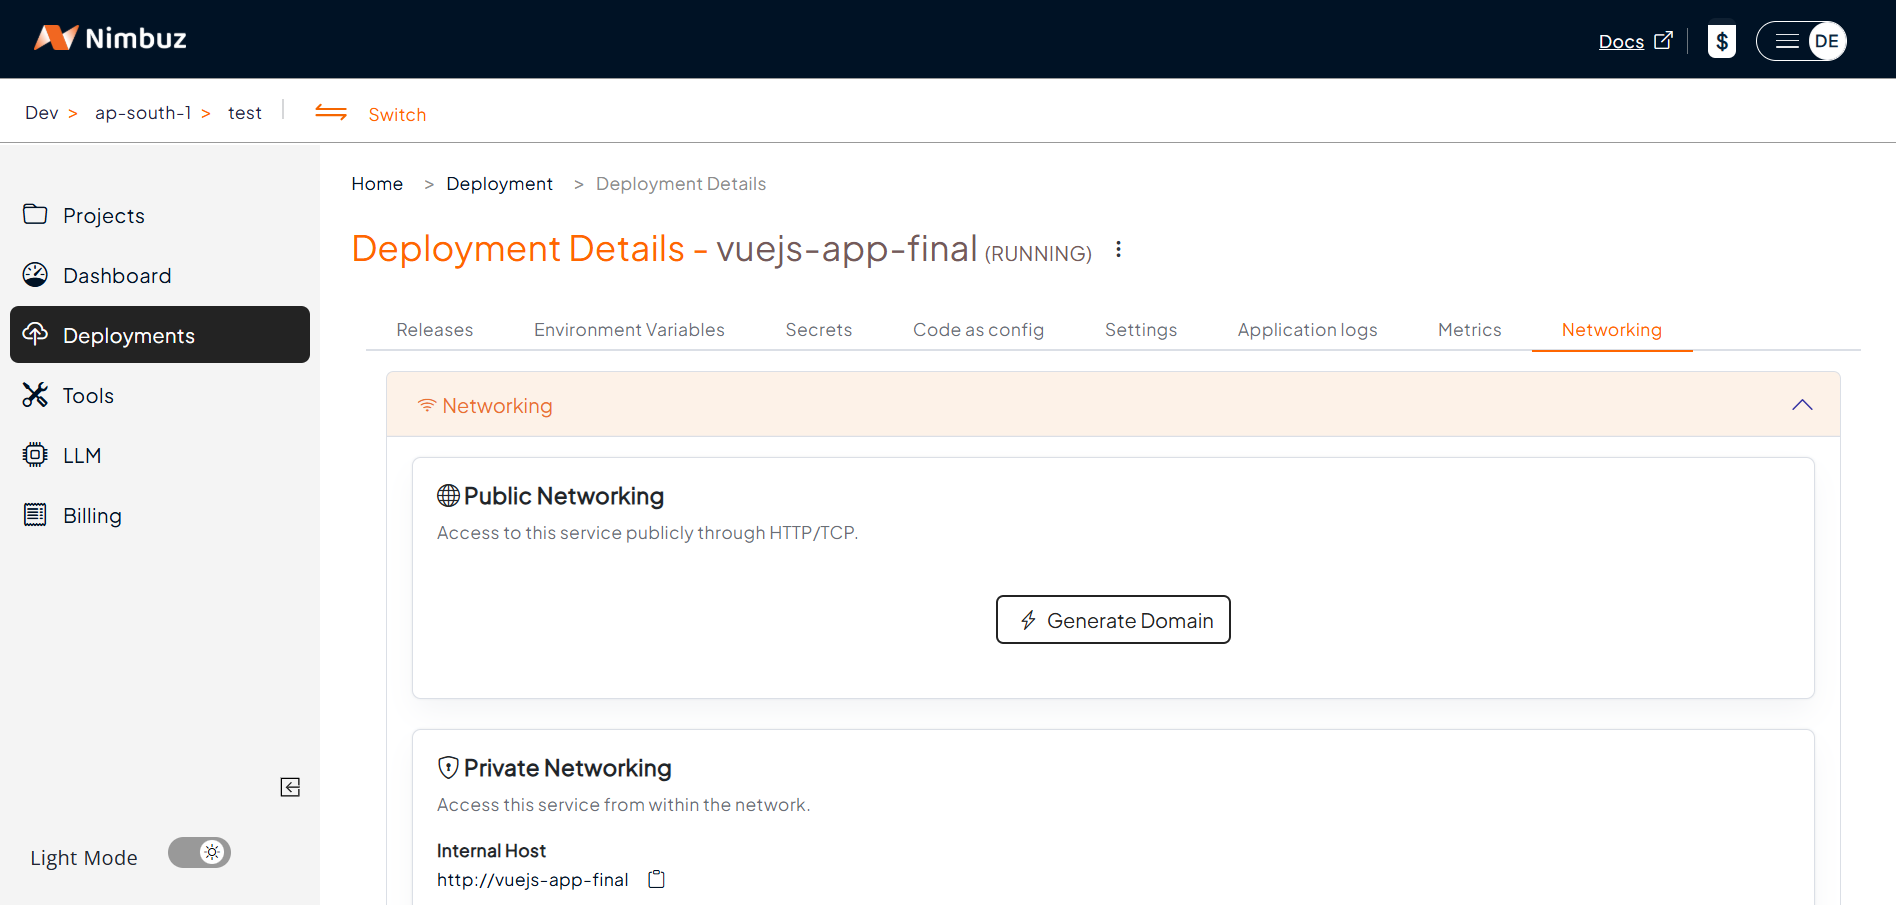
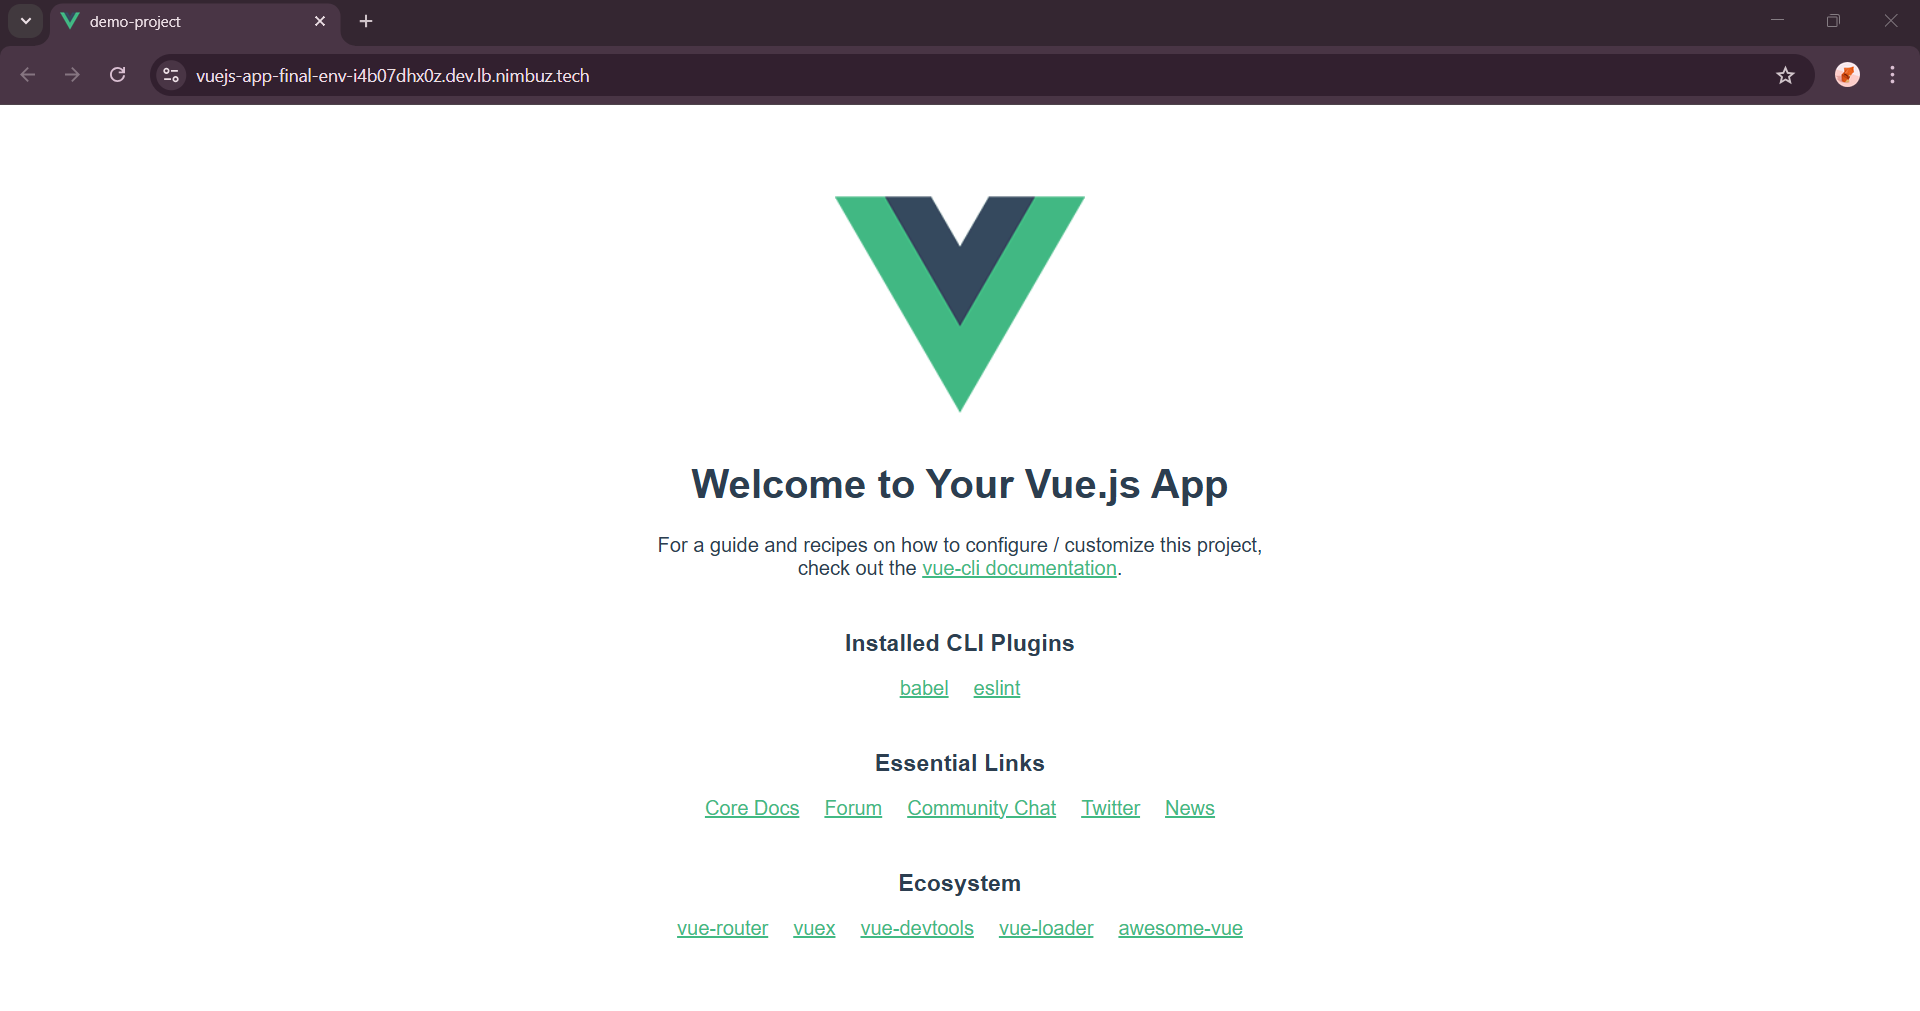
- After clicking Generate Domain, the system generates a public endpoint.
- Your app is automatically served with HTTPS.
- Optionally, map a custom domain.
This allows the application to go live quickly.
Hosting & Endpoint Setup Compared: Azure vs Nimbuz
When deploying a Vue.js application, both Azure Virtual Machines and Nimbuz Platform can host your application, but the setup process is different.
Azure Virtual Machine:
- Developers must configure hosting manually.
This includes:
- Creating a VM
- Installing Nginx or Node.js
- Uploading build files
- Configuring routing
- Setting up SSL certificates
Result: Flexible but time consuming setup.
In short: Azure provides full control but requires manual configuration.
Nimbuz Platform:
Nimbuz simplifies the entire hosting process.
When you deploy an application and click on generate domain:
- A public endpoint is generated automatically
- HTTPS is enabled automatically
- No server configuration is required
Result: Instant hosting with minimal effort.
In short: Nimbuz offers a simple and automated deployment experience for developers
Azure vs Nimbuz: Key Differences
| Feature | Azure VM | Nimbuz Platform |
|---|---|---|
| Deployment | Manual setup via SSH | One click deployment |
| Setup Time | ~30 to 40 minutes | ~2 to 3 minutes |
| Server Setup | Manual installation | Automatic runtime setup |
| SSL | Manual configuration | Built in HTTPS |
| Monitoring | External tools required | Built in log viewer |
| Scaling | Manual configuration | Platform managed |
| Ease of Use | Requires cloud knowledge | Beginner friendly |
| Cost | Multiple infrastructure costs | Single platform plan |
| Access URL | http://IP or custom domain |
http://<app-name>.nimbuz.tech or custom domain |
Conclusion
Both Azure Virtual Machines and Nimbuz provide reliable ways to deploy Vue.js applications.
Azure offers flexibility and infrastructure control, but requires manual setup and system administration skills.
Nimbuz focuses on automation and ease of use, allowing developers to deploy applications quickly without worrying about server configuration.