Deploying Rust Application on AWS vs Nimbuz

Building a Rust application delivers exceptional performance, safety, and efficiency thanks to its zero-cost abstractions and system-level control. But once you’ve written that high-performance code, the big question remains: where to deploy it?
On one hand, AWS EC2 offers complete control from spinning up instances and managing security groups to setting up reverse proxies, SSL, and auto-scaling. It’s powerful, flexible, and ideal for custom infrastructure setups. However, it requires significant DevOps effort, configuration time, and ongoing maintenance.
On the other hand, Nimbuz streamlines the entire deployment process. With just a few clicks or a simple upload, developers get auto-provisioned environments, HTTPS by default, real-time logs, monitoring, and instant scalability - all without managing servers.
Both platforms can handle production-grade Rust applications, but the developer experience and operational overhead are worlds apart.
Let’s dive deeper into how deployment works on both and see why Nimbuz is fast becoming the go-to choice for modern Rust developers.
Technical Foundation for Deployment
- Rust: A compiled systems language offering high performance with guaranteed memory safety making it perfect for backend systems and microservices.
- Actix-Web / Rocket: Popular Rust web frameworks that provide fast, type-safe, and asynchronous web server capabilities, ideal for building REST APIs or full-stack applications.
Deploying on AWS EC2
With AWS, deployment typically involves manual infrastructure setup
Step 1 - Launch an EC2 Instance
- Go to the AWS Management Console.
- Launch a new EC2 instance (Ubuntu, Linux).
- Configure security groups to allow SSH (port 22), MySQL (3306), and HTTP (8080/80).
SSH into the instance:
ssh -i <path-to-ssh-key> ubuntu@<ec2-public-ip>
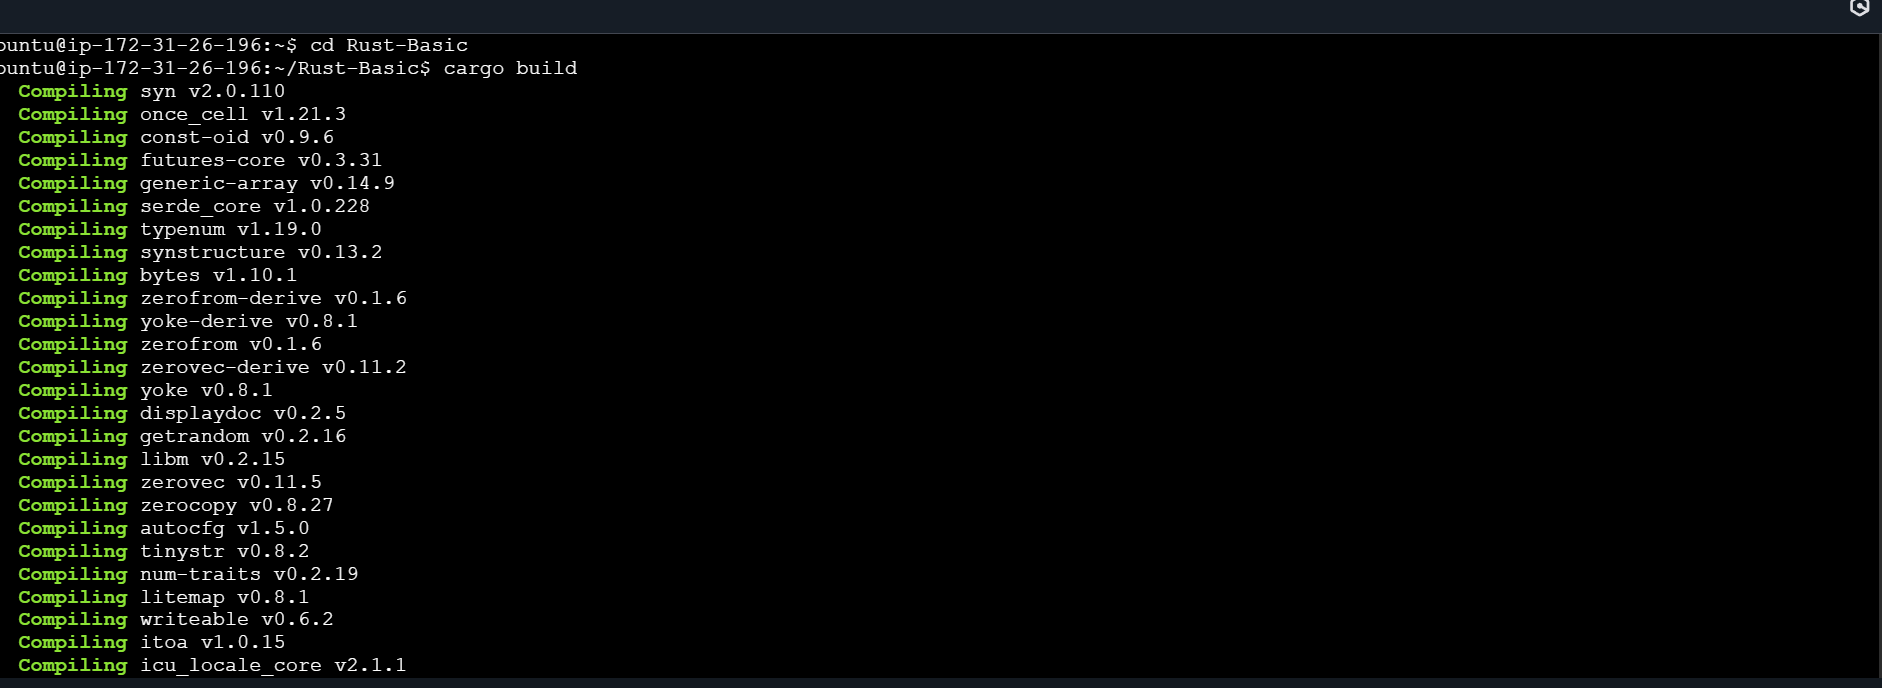
Step 2 - Intsall Rust and Verify
# 1. Update system packages
sudo apt update && sudo apt upgrade -y

# 2. Install required dependencies
sudo apt install build-essential curl -y

# 3. Download and install Rust using rustup
curl https://sh.rustup.rs -sSf | sh

# 4. After installation, configure your environment
source $HOME/.cargo/env

# 5. Verify Rust installation
rustc --version
cargo --version
Database and user for your Rust App:
#Log in to MySQL
sudo mysql -u root -p

#Once inside the MySQL shell (mysql> prompt appears), run:
CREATE DATABASE rust_mysql_erp;

#create a user
CREATE USER 'rust_user'@'localhost' IDENTIFIED BY 'your_password';
GRANT ALL PRIVILEGES ON rust_mysql_erp.* TO 'rust_user'@'localhost';
FLUSH PRIVILEGES;
Step 3 - Clone Your Application
git clone https://github.com/your-repo.git
cd your-repo
Step 4 - Configure env varibales
Edit src/main/resources/application.properties:
DATABASE_URL=mysql://root:<DBpassword>@<instance IP>:3306/rust_mysql_erp

PORT=8080
RUST_LOG=info
Step 5 - Build and Run
cargo run
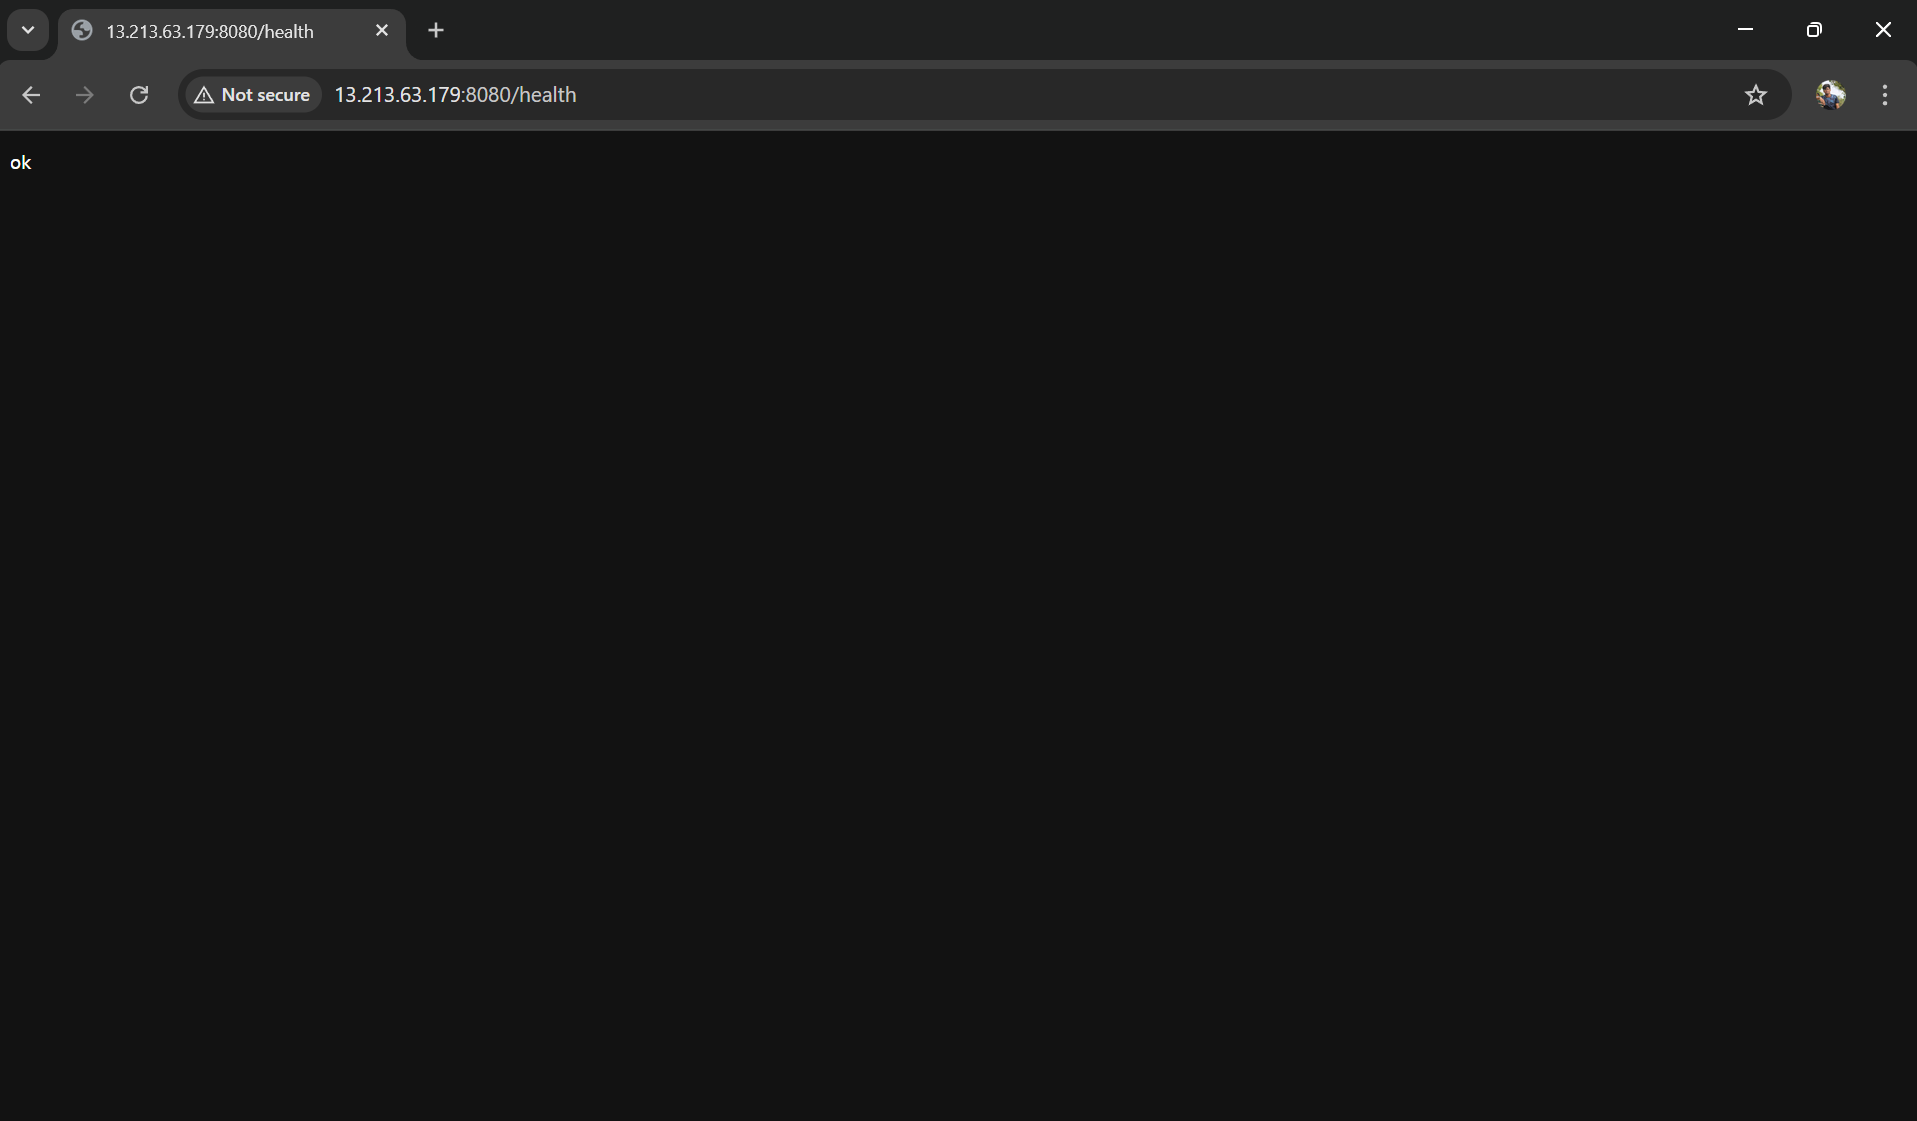
Your application will now be accessible at:
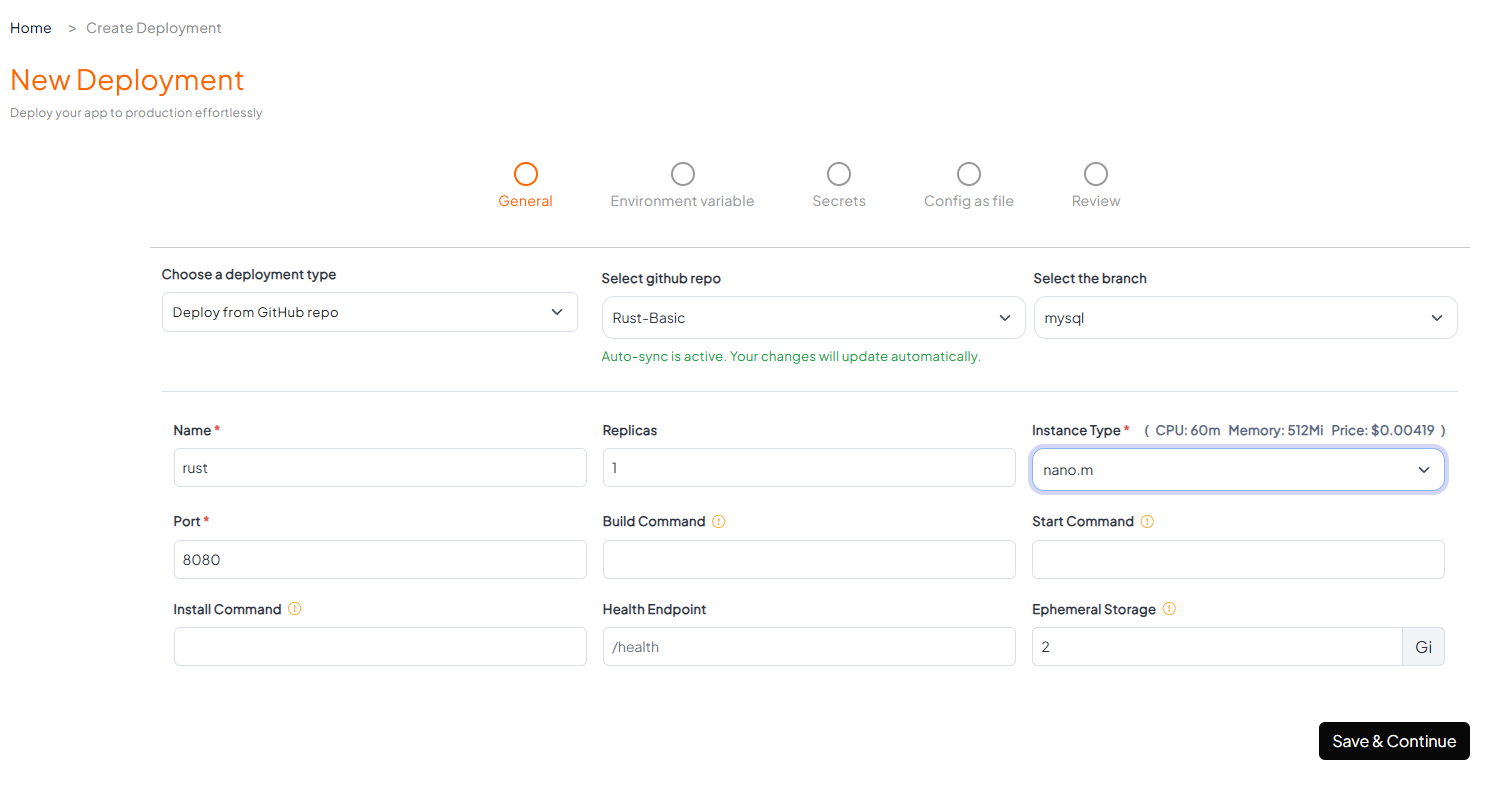
Deploying on Nimbuz
Step 1: Connect Your Code Repository
Nimbuz makes it simple to bring in your application code:
- GitHub / GitLab Integration – Connect your account, then choose the repository and branch you want to deploy.
- Upload Option – If your project isn’t in a repository, you can upload a .zip file of your code directly.
Step 2: Install Tools (like MySQL)
Nimbuz also allows you to provision essential tools for your application.
- From the Tools section, you can add databases such as MySQL.
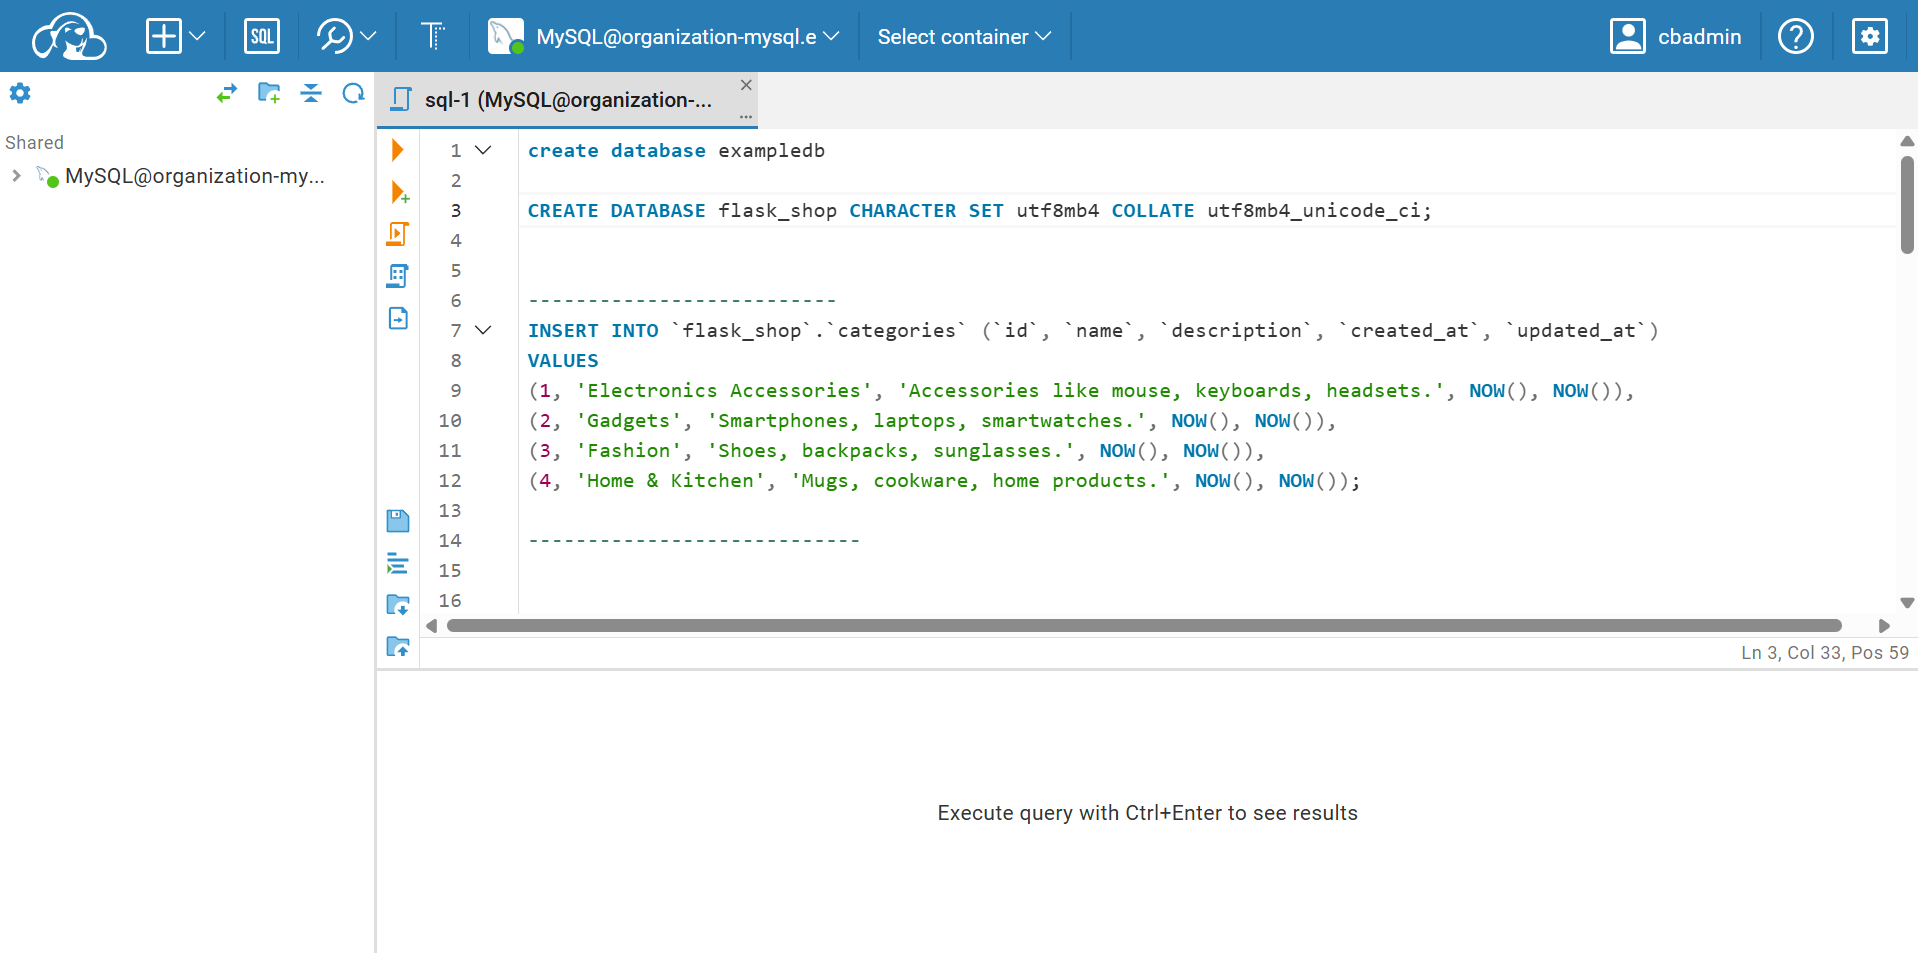
- Once installed, you can manage and query your database easily with the built-in CloudBeaver interface.
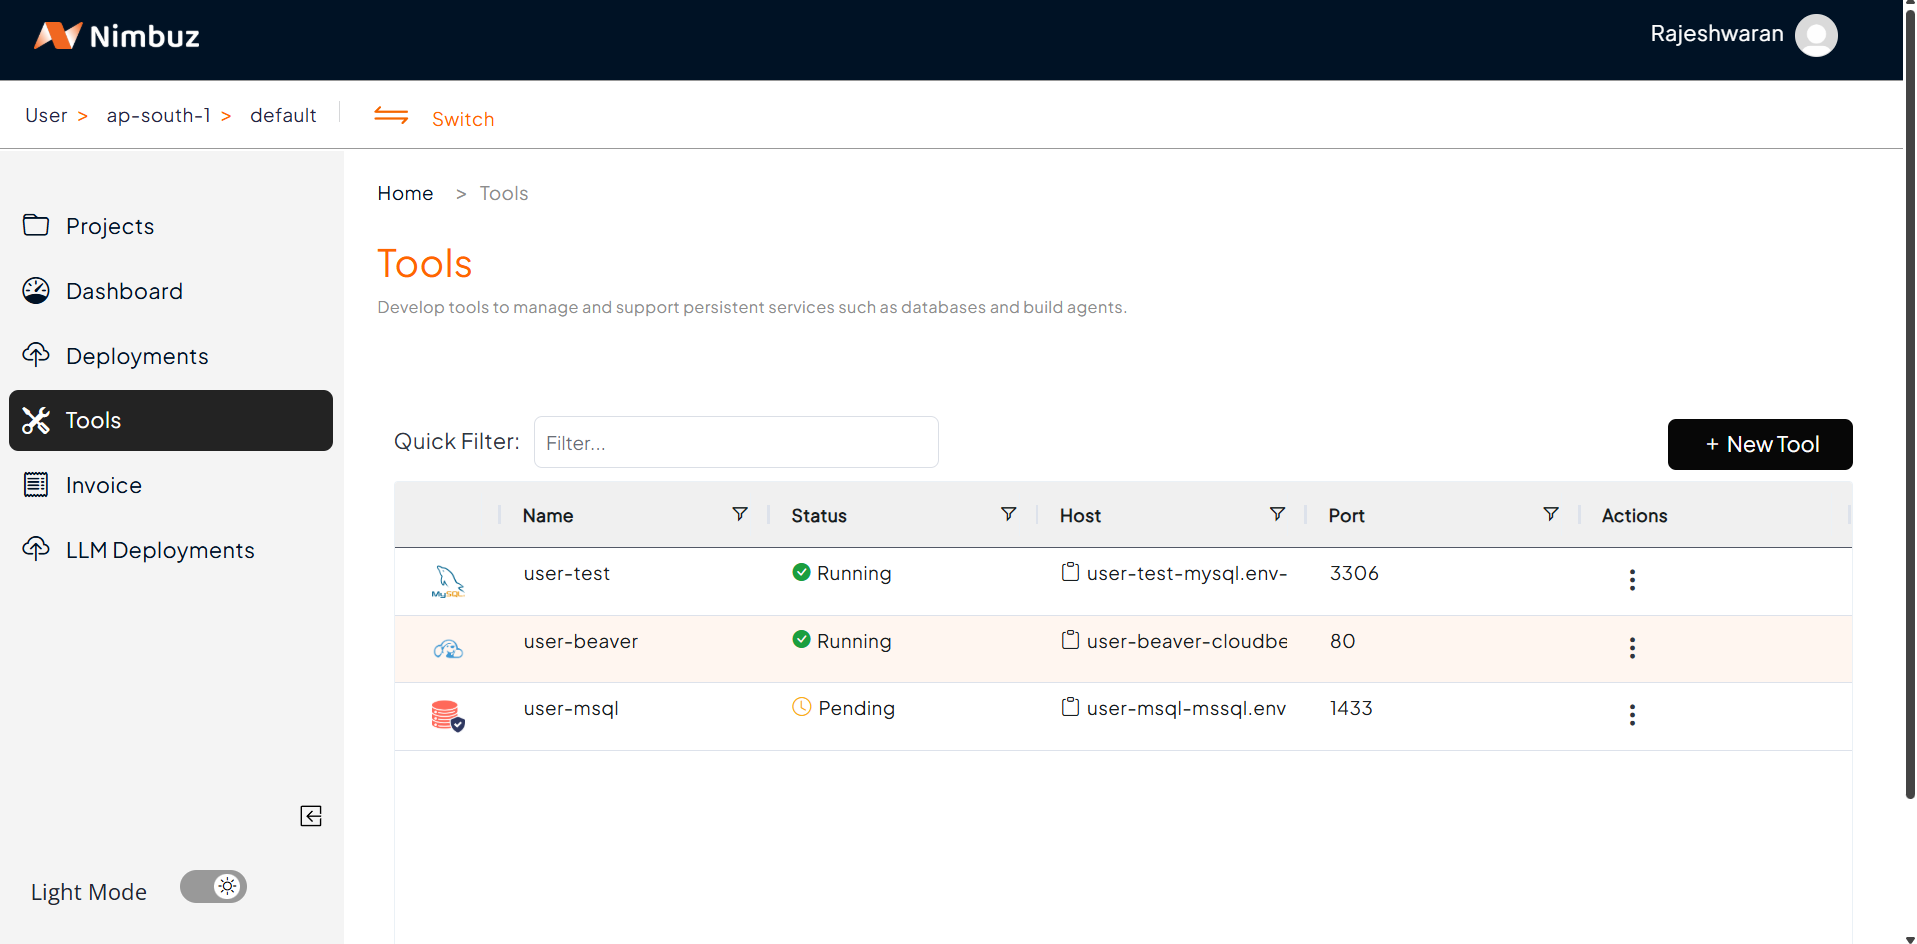
You can either use this managed MySQL instance or connect your application to a custom external database if required.
You can install and use Cloud beaver to Access the database
Step 3: Environment Variables
Traditionally, developers hardcode values into application.properties or application.yml, which is insecure for production.
In Nimbuz, you can instead define these values as:
- Environment Variables (for non-sensitive configs).
- Secrets (for sensitive data such as DB passwords, API keys).
Non-Sensitive information comes under "Environment Variables"

Step 4: Deploy Your Application
Once the environment is ready:
- Hit Submit.
- Nimbuz automatically builds your application (detecting Rust/axum/rocket).
- Deployment starts without needing extra setup.
You can monitor build logs right in the dashboard.
Step 5: Access Your Application
After deployment, you can find your app’s endpoint under Networking.
- Default Host: Nimbuz automatically generates a host/URL for your application. Just enable it and start using it.
Custom Domain: If you prefer, you can map your own custom domain.
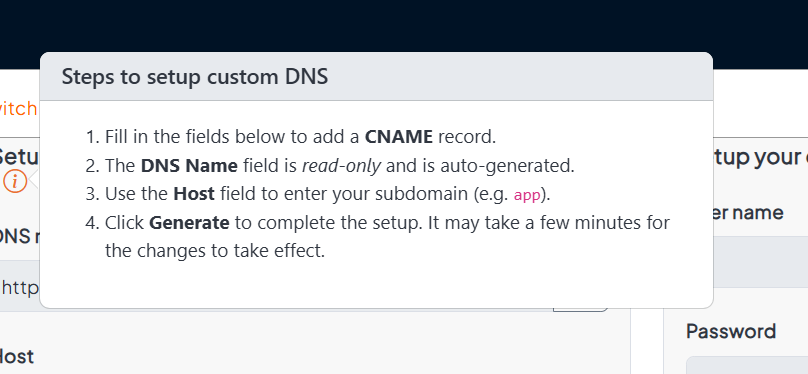

By default, all the endpoints are enabled with HTTPS (SSL), something that usually takes much longer to set up in AWS
Why AWS Feels Heavy for Rust Deployments vs Nimbuz’s Effortless Workflow
| Category | AWS EC2 | Nimbuz |
|---|---|---|
| Setup & Deployment | Manual setup: install Rust toolchain, set up Cargo, configure systemd, and expose ports. | Direct upload of compiled binary or Git-based auto-deploy for Rust apps. |
| Domain & SSL | Manual Nginx + Certbot setup and certificate renewal. | Automatic SSL and domain setup with a single click. |
| Scaling | Requires manual load balancer configuration and instance management. | Auto-scaling built-in; handles Rust binaries seamlessly. |
| Monitoring | Relies on CloudWatch and manual log inspection. | Real-time logs and performance metrics directly in dashboard. |
| Cost & Billing | Variable EC2 + network + storage costs; harder to predict. | Simple, flat pricing with a free tier for small Rust apps significantly more cost-effective than traditional EC2 setups. |
| Developer Experience | Heavy on DevOps setup, CI/CD, and system management. | Deploy Rust apps instantly focus on building, not configuring. |
Try Nimbuz Today!
Experience seamless, hassle-free app deployment with Nimbuz. Build faster, deploy smarter and stay cost-effective.