Deploying Spring Boot with Gradle- AWS vs Nimbuz

Deploying applications on cloud platforms like AWS often involves tedious manual steps such as setting up servers, configuring databases, and managing network access. With Nimbuz, the process is simplified. Just connect your repository, choose your tools, and the platform takes care of building and hosting. This blog walks you through deploying a Spring Boot application with Gradle on Nimbuz, step by step.
Understanding the Deployment Components
- Spring Boot - Java framework for building web applications.
- Gradle – Build automation tool to manage dependencies and package your app.
- Java Versions – Ensuring the right version of Java is installed is crucial for your application to run correctly.
Deploying on AWS EC2
With AWS, deployment typically involves manual infrastructure setup
Step 1 - Launch an EC2 Instance
- Go to the AWS Management Console.
- Launch a new EC2 instance (Ubuntu, Linux).
- Configure security groups to allow SSH (port 22), MySQL (3306), and HTTP (8080/80).
Step 2 - Install MySQL on EC2
sudo apt update
sudo apt install mysql-server -y
sudo mysql_secure_installation
Database and user for your Spring Boot app:
CREATE DATABASE springdb;
CREATE USER 'springuser'@'%' IDENTIFIED BY '<YourStrongPassword>';
GRANT ALL PRIVILEGES ON springdb.* TO 'springuser'@'%';
FLUSH PRIVILEGES;
Step 3 - Clone Your Application
git clone https://github.com/your-repo.git
cd your-repo
Step 4 - Configure Application Properties
Edit src/main/resources/application.properties:
spring.datasource.url=jdbc:mysql://<InstanceIP>:3306/springdb
spring.datasource.username=springuser
spring.datasource.password=password
server.port=8080
Step 5 - Build and Run
.\gradlew build./gradlew bootRunjava -jar target/your-app-name.jarYour application will now be accessible at:
http://<InstanceIP>:8080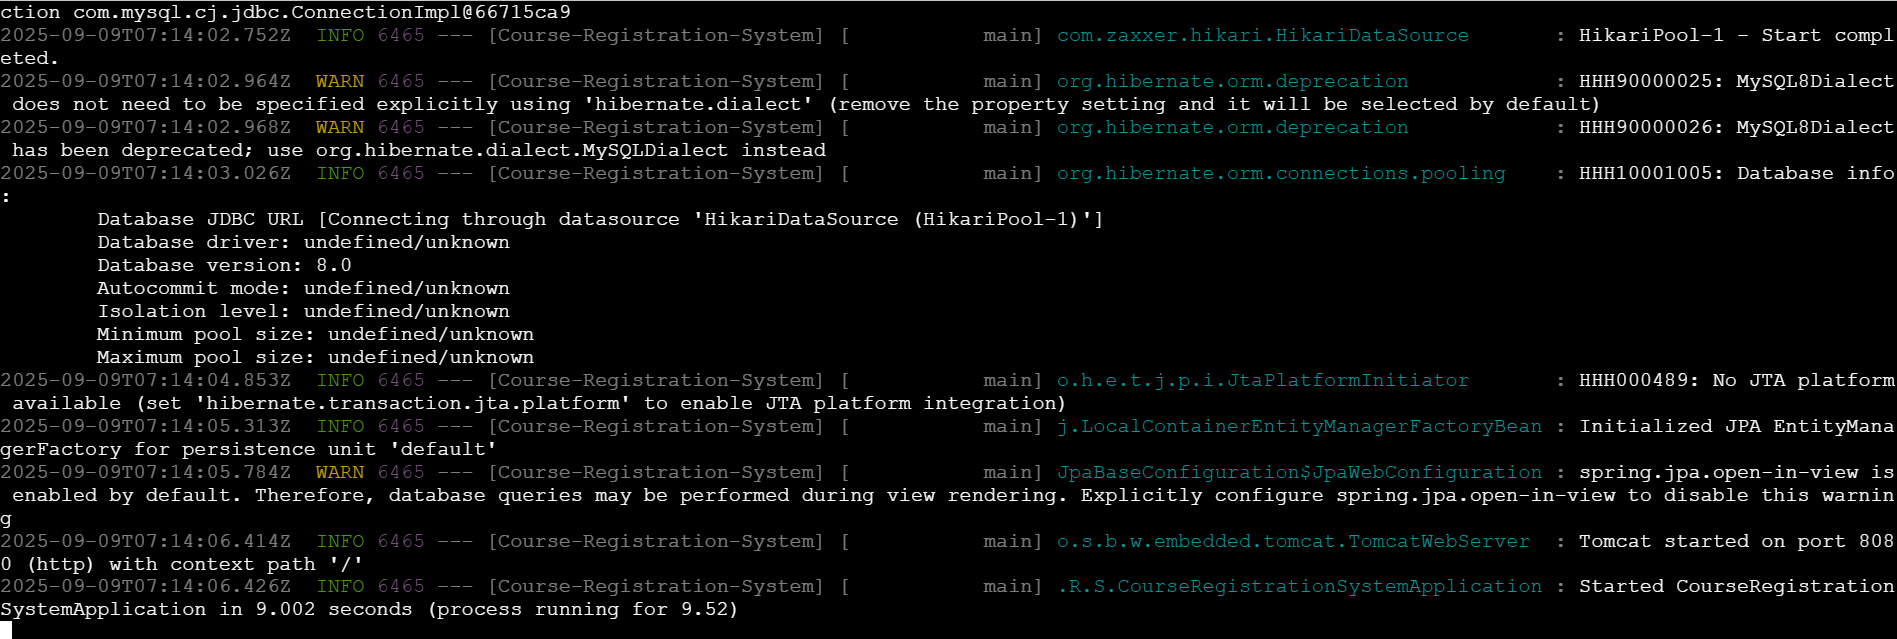
Deploying on Nimbuz
Step 1: Connect Your Code Repository
Nimbuz makes it simple to bring in your application code:
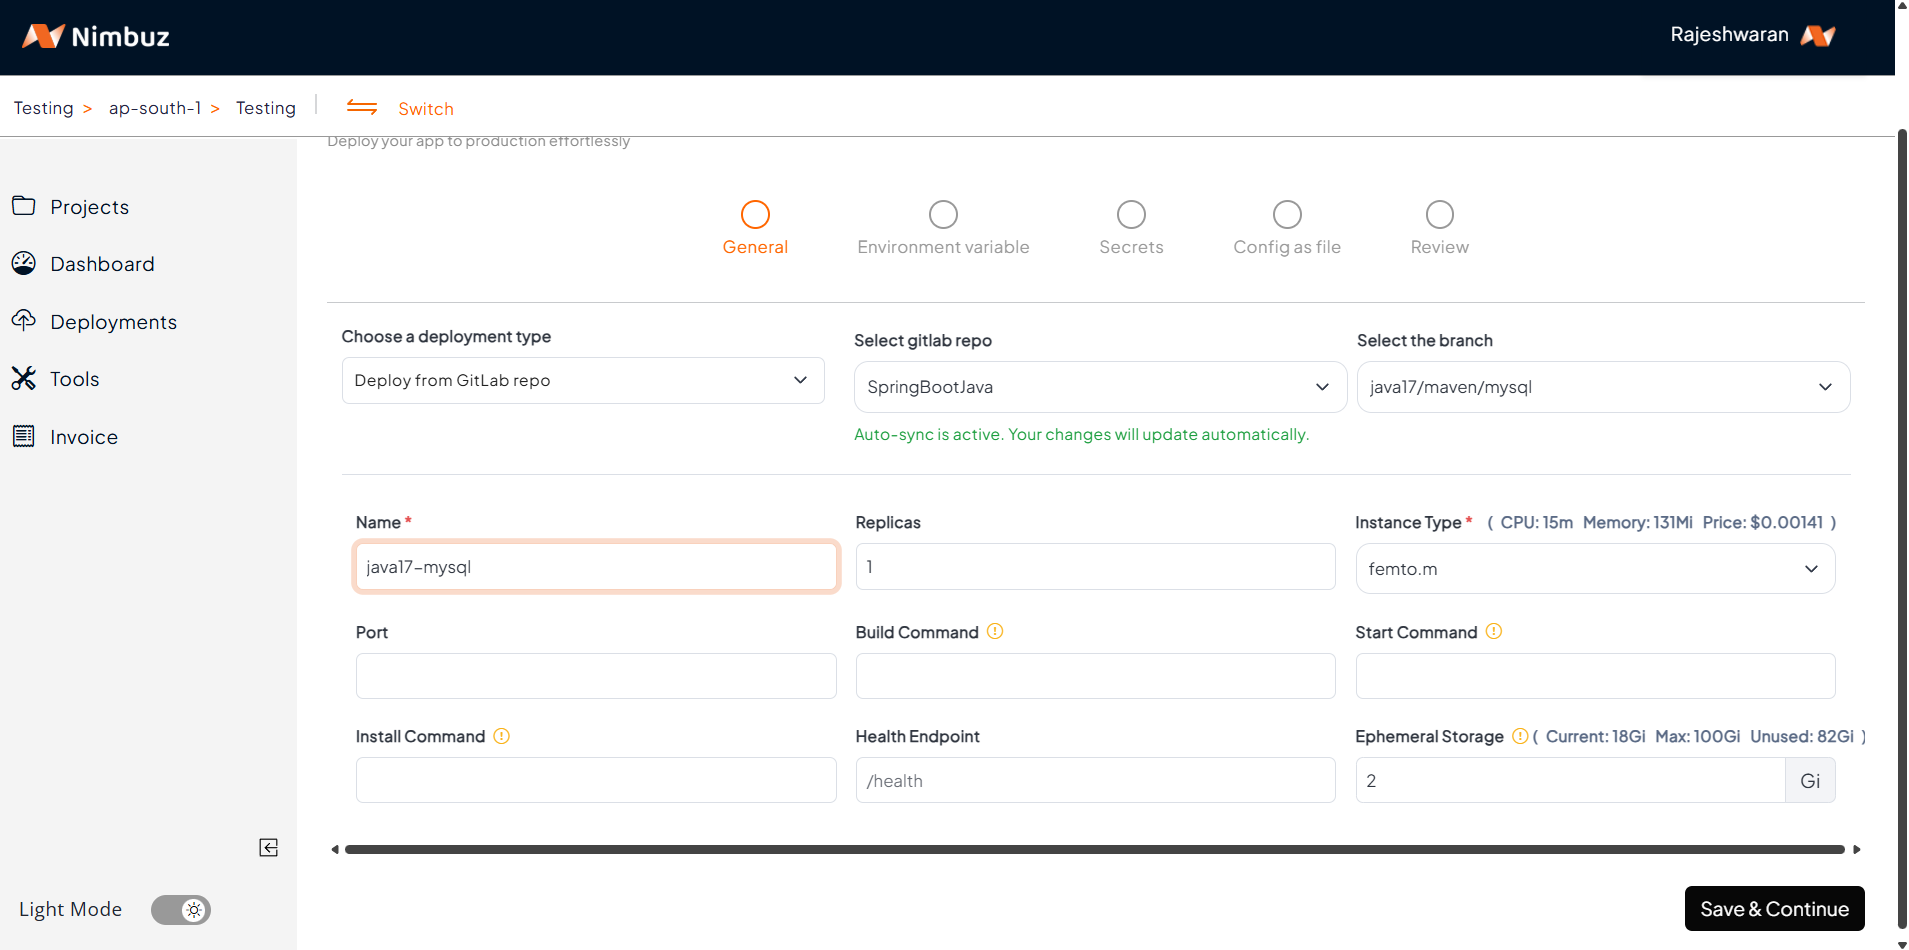
- GitHub / GitLab Integration – Connect your account, then choose the repository and branch you want to deploy.
- Upload Option – If your project isn’t in a repository, you can upload a .zip file of your code directly.
This flexibility means you can deploy from anywhere — version control or local source code.
Step 2: Install Tools (like MySQL)
Nimbuz also allows you to provision essential tools for your application.
- From the Tools section, you can add databases such as MySQL.
- Once installed, you can manage and query your database easily with the built-in CloudBeaver interface.
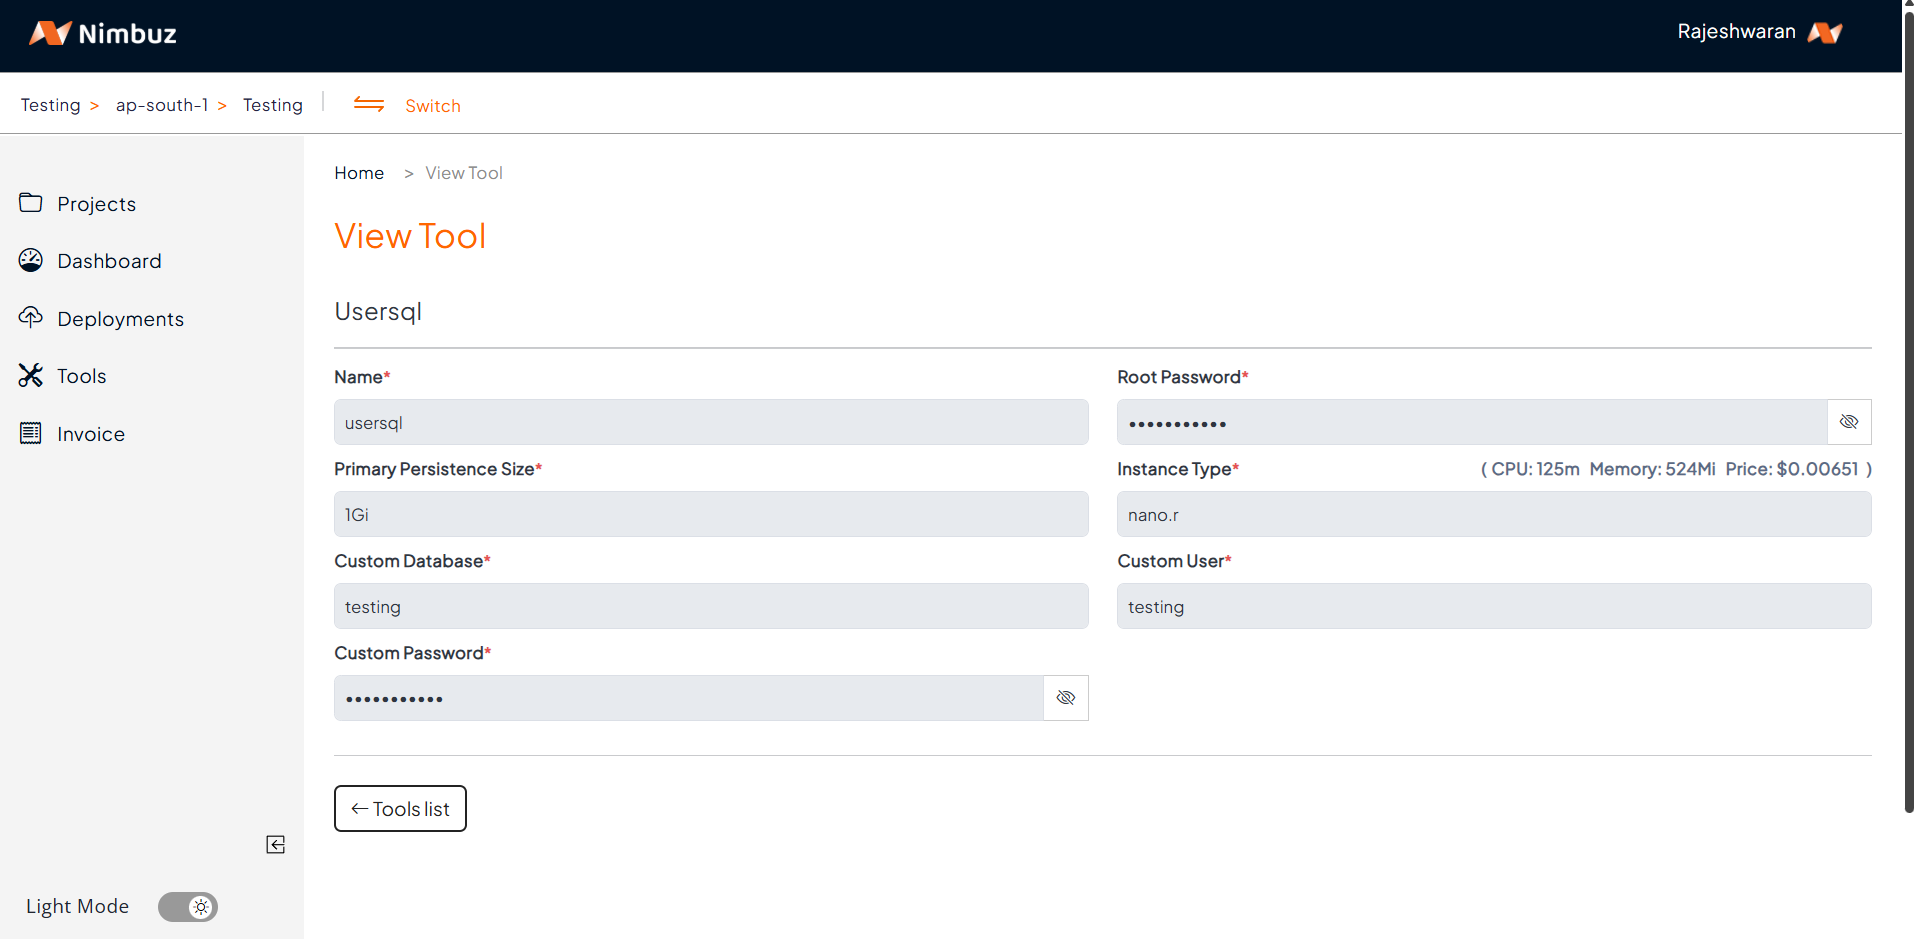
You can either use this managed MySQL instance or connect your application to a custom external database if required.
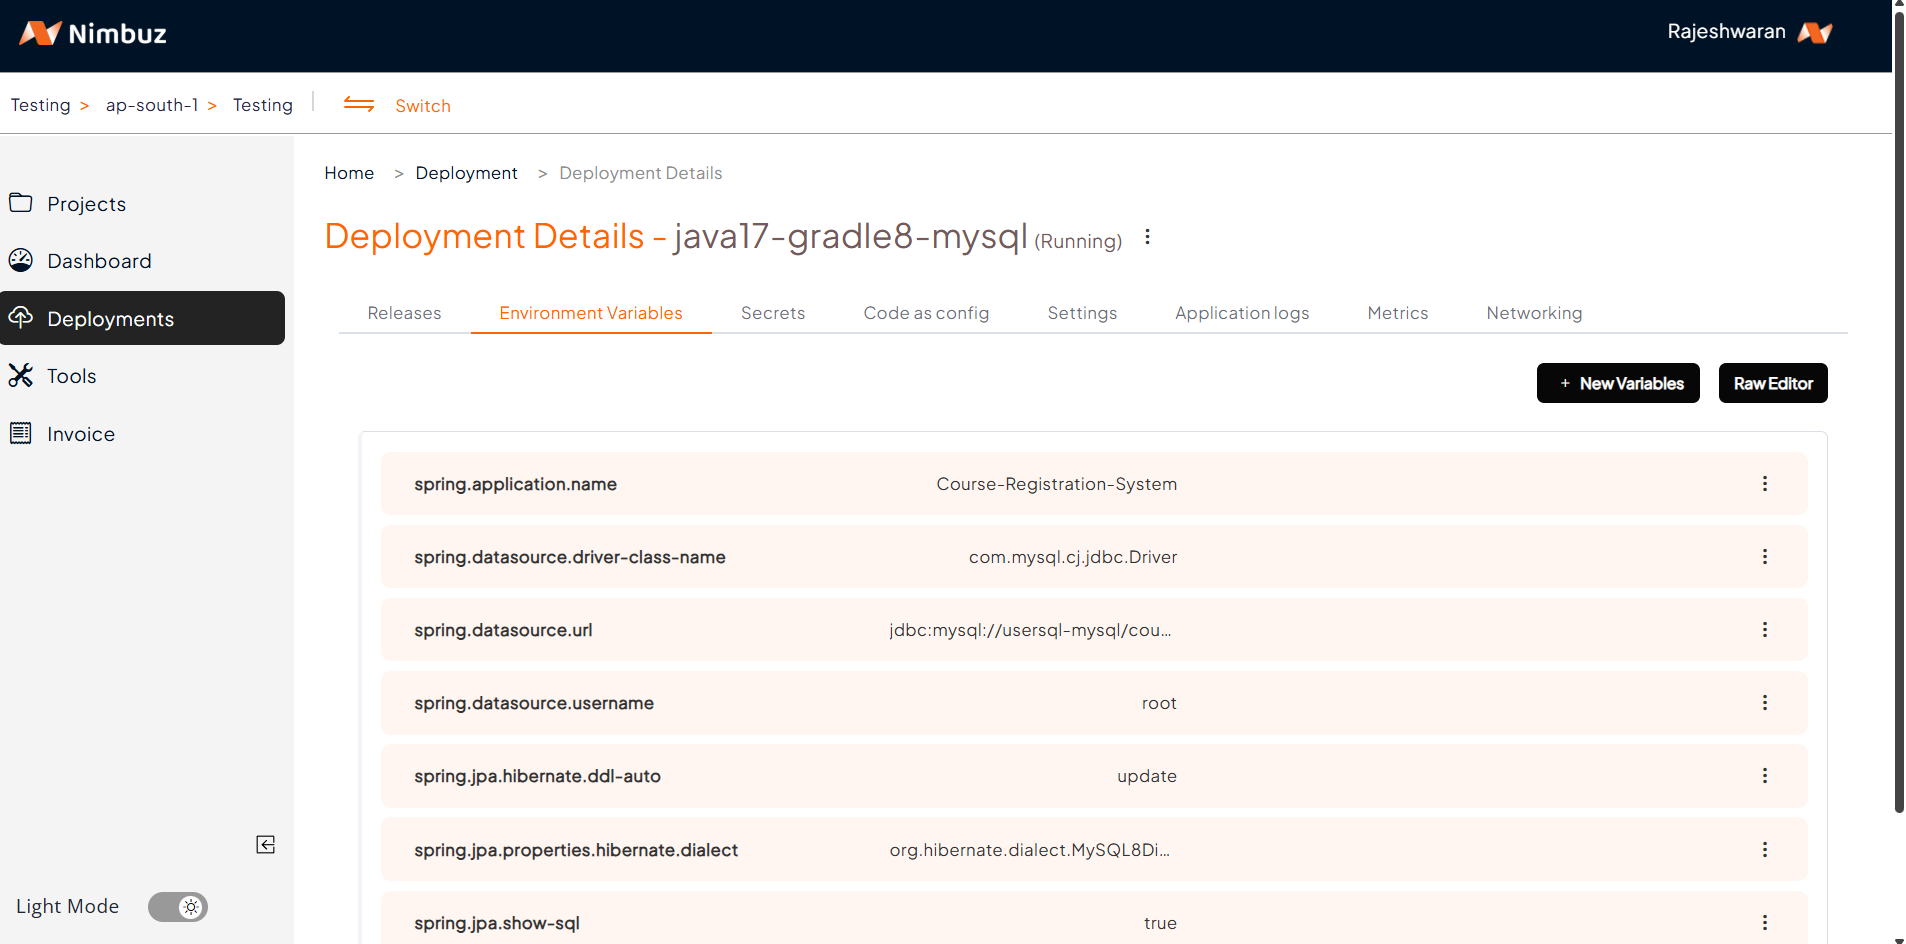
Step 3: Configure Application Properties
Traditionally, developers hardcode values into application.properties or application.yml, which is insecure for production.
In Nimbuz, you can instead define these values as:
- Environment Variables (for non-sensitive configs).
- Secrets (for sensitive data such as DB passwords, API keys).
Example:
spring.datasource.url=${DB_URL}
spring.datasource.username=${DB_USER}
spring.datasource.password=${DB_PASSWORD}
This approach keeps your code clean and secure while making it easy to update configurations later.
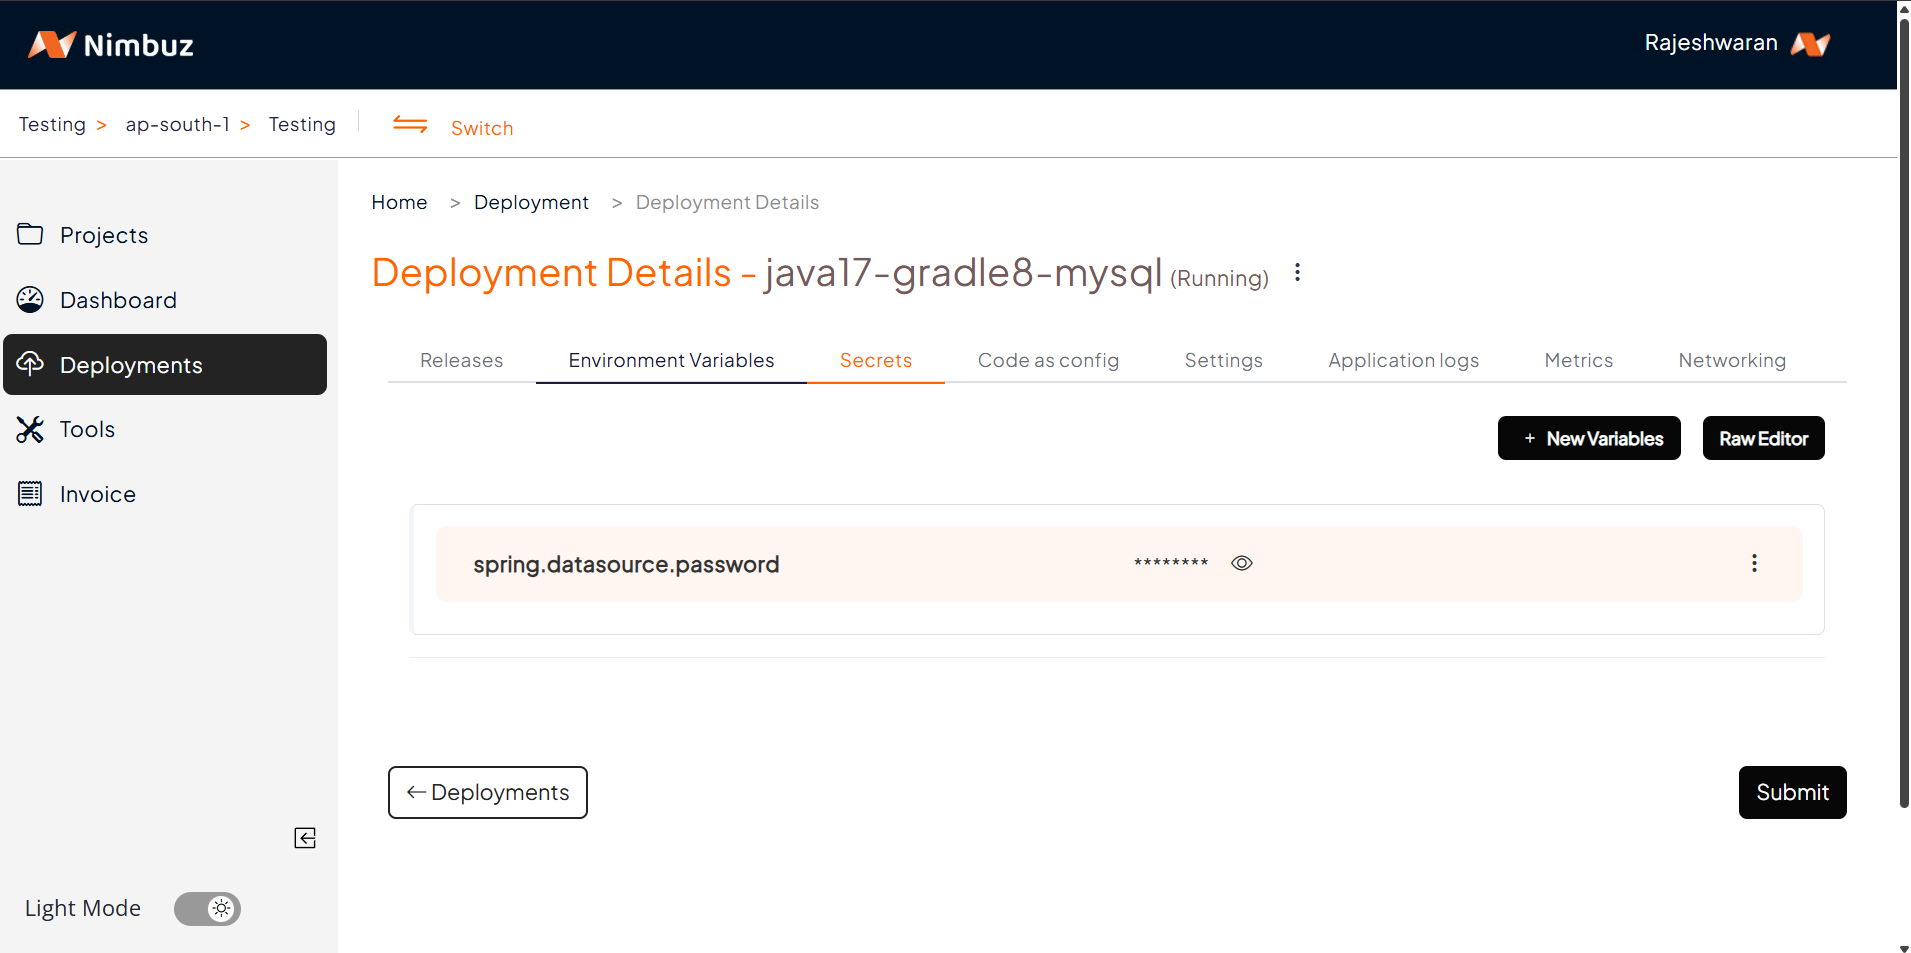
Non-Sensitive information comes under "Environment Variables"
Sensitive information come under "Secrets"
Step 4: Deploy Your Application
Once the environment is ready:
- Hit Submit.
- Nimbuz automatically builds your application (detecting Java/Maven/Gradle).
- Deployment starts without needing extra setup.
You can monitor build logs right in the dashboard.
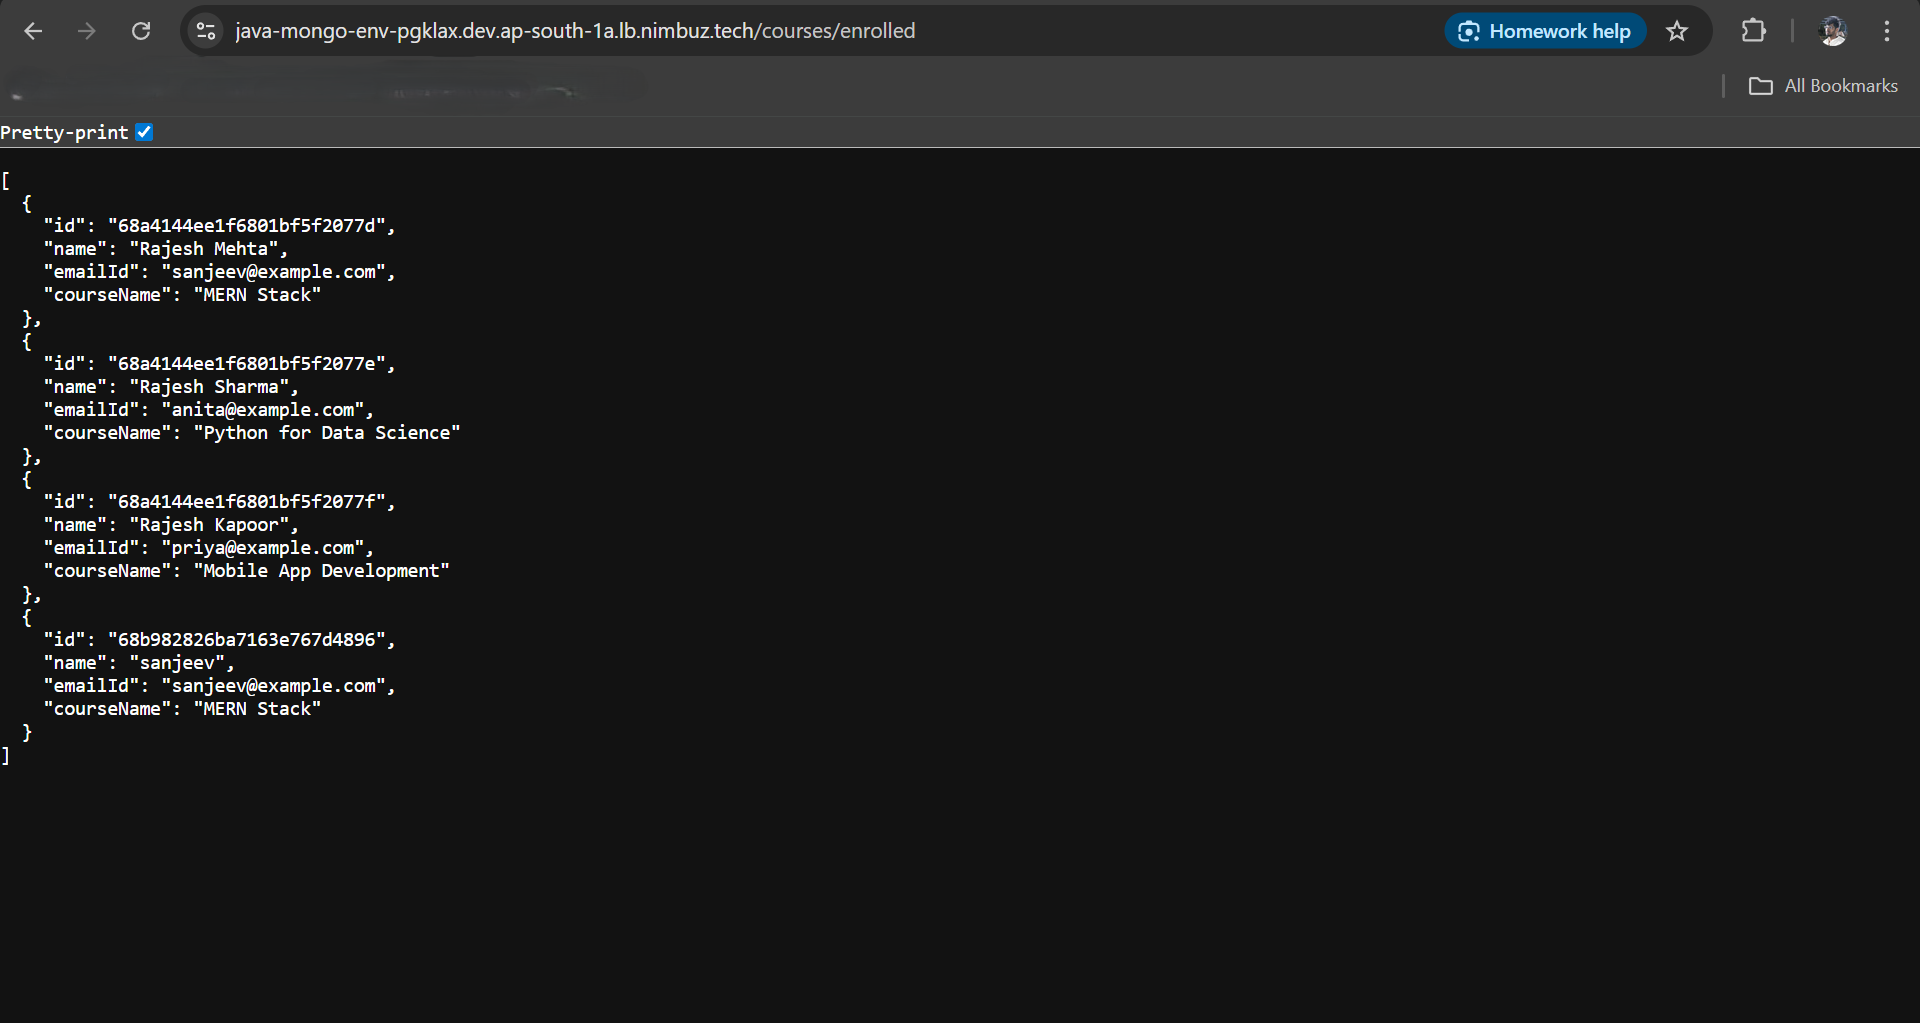
Step 5: Access Your Application
After deployment, you can find your app’s endpoint under Networking.
- Default Host: Nimbuz automatically generates a host/URL for your application. Just enable it and start using it.
Custom Domain: If you prefer, you can map your own custom domain.

By default, all the endpoints are enabled with HTTPS (SSL), something that usually takes much longer to set up in AWS.
Hosting & Endpoint Management: AWS vs Nimbuz
Nimbuz
- When you deploy, Nimbuz automatically generates the host (endpoint/URL).
- You can simply enable it in the dashboard and start using it.
- SSL (HTTPS) support can also be toggled easily without manual certificate setup.
Result: Zero effort to expose your app publicly.
AWS - Difficulties Developers Face
Deploying on AWS EC2 involves multiple manual steps and pitfalls:
1. Public IP & DNS Setup
- EC2 instances come with a dynamic public IP (changes on restart unless you attach an Elastic IP).
- To use a domain name, you must manually configure Route53 (DNS).
- You also need to set up a load balancer for production-grade high availability.
2. Security Groups (Firewall Rules)
- By default, EC2 blocks most traffic.
- You must manually allow inbound rules for ports like:
- 22 (SSH)
- 8080/80 (Application access)
- If misconfigured → your app won’t be accessible.
3. SSL/HTTPS Setup
- In AWS, enabling HTTPS requires:
- Requesting a certificate via AWS Certificate Manager (ACM).
- Attaching it to a Load Balancer (ALB/ELB).
- Updating DNS records.
- This is time-consuming and error-prone compared to Nimbuz’s one-click SSL.
4. Scaling & Availability
- On EC2, if traffic increases, you must:
- Manually create new instances.
- Configure an Auto Scaling Group (ASG).
- Attach instances to a Load Balancer.
- Without this, your single EC2 instance can crash under load.
5. Maintenance Overhead
- You’re responsible for:
- OS patching and updates.
- MySQL backups and failover.
- Monitoring (CloudWatch) setup.
- In Nimbuz, all of this is managed by the platform.
Summary: AWS vs Nimbuz Endpoint
| Feature | AWS (EC2 + MySQL) | Nimbuz |
|---|---|---|
| App Endpoint | Must configure Elastic IP / Route53 / ALB | Auto-generated host |
| Port Access | Manual Security Group setup | Automatic |
| SSL/HTTPS | Manual ACM + ALB setup | One-click enable |
| Database Access | Expose MySQL via SG (risky) or configure RDS + VPC | Environment variables, no networking config |
| Scaling | Manual ASG + Load Balancer | Built-in auto scaling |
| Maintenance | High (patches, backups, monitoring) | Low (platform-managed) |